This Tip of the Week covers topics including:
- 0:45 – Zapier & Other Webhook Integrations
- 2:36 – The Benefits of Automated Social Sharing
- 4:18 – A Few Things to Note…
- 6:25 – Set Up Automated Social Sharing for Posts
- 7:52 – Let’s Set Up Automated Social Sharing
This is a segment from Webinar Wednesday 139, recorded live on July 13, 2022.
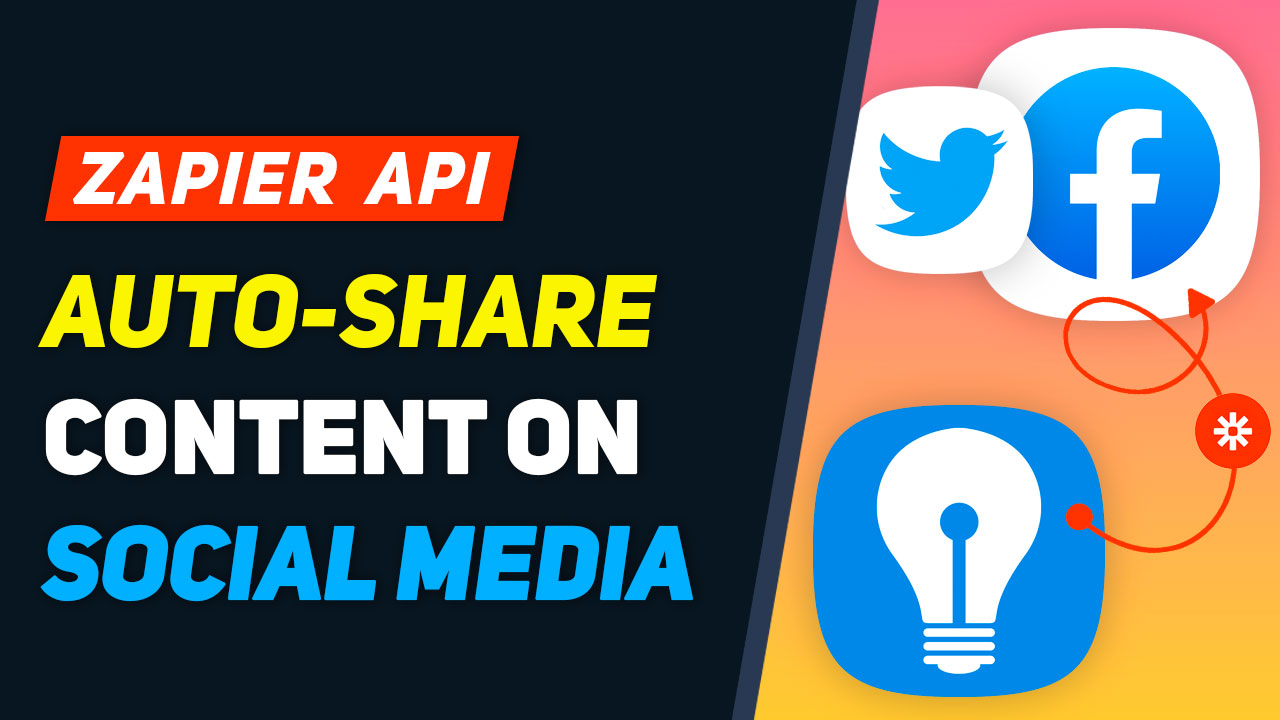
Auto-Post to Facebook, Twitter and more using Zapier
Here at Brilliant Directories, we are thrilled to announce our latest integration with Zapier! This integration allows membership website owners to automatically post their content from their Brilliant Directories site to their social media channels, streamlining their online presence and making it easier than ever to keep their followers engaged and up-to-date. And the best part? This integration uses webhooks, making the process of sending social media post data from Brilliant Directories to Zapier quick and easy.
The Benefits of Automatically Posting Content to Social Media
- Efficiency: By automating the process of posting content to social media, website owners can save time and focus on other important tasks.
- Increased Reach: Social media is a powerful tool for reaching a large audience, and this integration makes it even easier for website owners to connect with their followers and potential customers.
- Consistency: Automatically posting content ensures that social media channels are always up-to-date and that followers receive consistent, relevant information.
- Improved Engagement: Regularly posting fresh content can help increase engagement and foster a strong community among followers.
- Streamlined Workflow: With this integration, website owners no longer need to switch back and forth between platforms or manually post content, making their workflow smoother and more efficient.
Use Cases for the Brilliant Directories, Zapier Integration
- New Member Announcements: Automatically post new member announcements to social media to showcase your growing community and welcome new members.
- Event Promotions: Easily promote upcoming events on social media to attract more attendees and generate buzz.
- Blog Updates: Automatically share new blog posts with your followers, keeping them informed and engaged.
- Special Offers: Quickly share special offers and promotions with your social media followers to increase sales and drive traffic to your website.
- News and Announcements: Stay on top of your social media game by automatically posting important news and announcements to your channels.
How to send Posts from Brilliant Directories to Zapier with Webhooks
With the Brilliant Directories-Zapier integration and webhooks, sending social media post data from Brilliant Directories to Zapier is a breeze. Here are the steps to get started:
- Step 1: Create a Zap in Zapier
- Step 2: Select webhooks as the trigger
- Step 3: Set Up the Action
- Step 4: Test and Turn on the Zap
To get started, log in to Zapier and create a new Zap. From there, choose Brilliant Directories as the trigger app and “New Content” as the trigger. This will activate the Zap whenever new content is added to the Brilliant Directories website.
In order to send your Brilliant Directories post data to Zapier, you’ll need to use the webhook method which sends post data into Zapier. The settings for this can be found in the Brilliant Directories “Developer Hub” section.
Next, you’ll set up the action for the Zap. In this case, you’ll want to choose the social media platform you want to post to (e.g. Twitter, Facebook, etc.) as the action app. From there, select “Create a Post” or similar as the action, and provide any necessary information, such as the post text, image, and so on.
Once you’ve set up the action, test the Zap to make sure everything is working correctly. If everything looks good, turn on the Zap and start automatically posting your Brilliant Directories content to your social media channels!
And that’s it! With the Brilliant Directories, Zapier integration and webhooks, it’s never been easier to automatically post content to your social media channels. Start taking advantage of all the benefits today and streamline your online presence.

 AI-Generated Transcript – Please excuse any inaccuracies
AI-Generated Transcript – Please excuse any inaccuracies
AI-Generated Transcript – Please excuse any inaccuracies
Zapier & Other Webhook Integrations (00:00:45)
- Web hooks on a Brilliant Directory site can send data from various forms, such as new member sign-ups, newsletter subscriptions, contact form submissions, new leads, and new reviews, to third-party platforms using webhook automation platforms like Zapier (00:00:47).
- The forms that can trigger web hooks include custom forms, and when someone fills out a form, the data can be sent to thousands of third-party platforms using a webhook automation platform (00:01:26).
- Currently, web hooks can only send data out, but in the near future, it will be possible to receive data into a Brilliant Directory website from external sources, which is referred to as phase two (00:01:41).
- Zapier is being used in the example, but other web hook automation platforms like Padley, Integrately, and Make (Automate.io) will also work, with the same functionality but a different user interface (00:02:06).
- The process of using web hooks and automation platforms will be the same regardless of the chosen platform, allowing users to take data from their website and send it to other platforms, and soon, to also receive data into their website (00:02:29).
The Benefits of Automated Social Sharing (00:02:36)
- Automatically sharing newly published posts on Social media can be beneficial, and the process of automating this sharing can be set up using web hooks and tools like Zapier (00:02:37).
- Currently, when posts are published on a website, they need to be manually shared on social profiles like Twitter, Facebook, and Instagram by the website administrators or managers (00:03:02).
- Automating the sharing process allows newly published posts to be directly shared on social media profiles, and also provides the option to send post data to social media management tools like Hootsuite or Buffer for scheduling or using other available tools (00:03:34).
- The automation process using web hooks and Zapier offers flexibility and options, including the ability to schedule posts or use other tools available on social media management platforms (00:04:07).
- Utilizing web hooks and tools like Zapier enables the automatic sharing of newly published posts on social media, eliminating the need for manual sharing or scheduling on various social networks (00:02:52).
A Few Things to Note… (00:04:18)
- There are two types of web hook events to consider: post standard and post photo album, and the main difference between them is that post standard events have one image upload field, whereas post photo album events allow attaching a photo album to the post (00:04:24).
- Post standard events include post types such as articles, events, videos, audio, listings, jobs, coupons, and discussion posts, which typically have only one image upload field (00:04:42).
- Photo album posts, on the other hand, include post types like photo albums, properties, classifieds, products, and digital products, which can have multiple images attached (00:05:01).
- The example provided will utilize the post standard web hook event, specifically for blog posts, which is a standard post type (00:05:20).
- When setting up the integration with Zapier or other web hook platforms, it is essential to ensure that the time zone set in the Zapier account matches the time zone set for the website (00:05:42).
- The web hook will send various types of data from the newly published post to Zapier, which can be used to establish different filters and actions throughout the workflow (00:05:53).
- This data can be utilized to set up different types of filters and actions, and examples of this will be shown in the demonstration (00:06:16).
Set Up Automated Social Sharing for Posts (00:06:25)
- To set up automated social sharing for posts, the first step is to enable the web hook and add the web hook link for the post standard event on the directory site (00:06:28).
- The post standard event is used for articles, but if the post type is a photo album, the post photo album web hook event would be used instead (00:06:42).
- On Zapier, the process involves creating a new zap or event workflow, establishing relevant filters and delays, and connecting and signing in to the desired Social media accounts (00:07:00).
- The social media accounts that will be used for automatic sharing in this example are Facebook and Twitter (00:07:26).
- After connecting the social media accounts, the next step is to set up a template for the automated posts and create the posts to be shared on the social networks (00:07:28).
- The process of setting up automated sharing is relatively simple, with minimal steps required on the directory site side (00:07:38).
Let’s Set Up Automated Social Sharing (00:07:52)
- A sample blog post is created on a website, and the process of automatically sharing new Website content writer on Social media is demonstrated, with the goal of boosting social media presence (00:07:53).
- The sample blog post is published, and the publish date is set to the current time, which is July 13th, 4:34 pm, and the post is given a title, “The Webinar Test”, with an image uploaded and content added (00:09:07).
- Behind the scenes, the data from the blog post is sent to Zapier, which processes it through its workflows, and the post is either qualified or stopped from being added to Twitter, depending on the filters in place (00:10:15).
- The blog post is successfully posted to Twitter, with a link to the original article on the website, and the same process is demonstrated for a Facebook company page, with the post bringing traffic back to the website (00:10:41).
- The steps to accomplish this automatic sharing process in Zapier are explained, starting with creating a web hook, which gives a URL to copy and paste into the website, allowing Zapier to receive data from the website (00:11:47).
- The process of recreating the Zapier workflow from scratch is initiated, with the goal of providing a step-by-step guide on how to automatically share new website content on social media (00:11:29).
- The Brilliant Directories website is used to recreate a Zapier workflow, which involves copying a URL and utilizing the data points of a post, including the title, form name, data ID, content, and notable dates such as the last time the post was updated and the post live date (00:12:02).
- Each post type on the site has a unique ID number, including blog posts and photo albums, and this ID number can be used to identify specific posts (00:12:20).
- The workflow also includes information about the member who posted the content, such as their email address, and the full file name of the blog post, which is the URL of the blog post (00:12:31).
- A special delay can be added to the workflow to schedule posts to be published on the website at a later time, and Zapier has a delay until feature that allows users to choose a variable from the data, such as the post start date (00:13:09).
- To prevent duplicate postings on Social media channels, a filter can be set up to only continue the workflow if the publish date has not already passed a certain amount of time, such as 15 minutes or one hour (00:13:55).
- Additional filters can be added to the workflow, such as only continuing if the post status is “published”, if a post title exists, and if post content exists, to ensure that only quality data is sent to social media networks (00:14:26).
- The workflow can also be set up to create posts on Facebook and Twitter, and users can connect their accounts and pages to the workflow, and write a custom message that includes data from the post, such as the post title (00:15:16).
- Users can also add hashtags and other content to the post to make it more engaging and effective (00:15:50).
- To automate posting on social media, the process involves connecting Twitter and Facebook accounts, and then under actions, writing a post title and file name, which is the full URL of the post, and this can be customized with hashtags and other information (00:15:55).
- The automated post can include metadata information like images from the blog post itself, and the post can be customized with different hashtags and content (00:16:19).
- To recreate the automated post from scratch, the first step is to go to the Zapier dashboard, where various integration systems are available, and create a new zap (00:16:48).
- The next step is to add an app event, select webhook by Zapier, and choose the event type as “catch hook”, then continue without picking a child key (00:17:11).
- After setting up the webhook, the URL needs to be copied and pasted into the Brilliant Directories site, specifically in the developer hub under web hooks, where the post and standard post need to be selected (00:17:49).
- The webhook URL from Zapier needs to be pasted into the web hook link and saved, then a sample post needs to be created to test the trigger and ensure the connection is working (00:18:11).
- The sample post can include custom fields and will send the correct data points to Zapier, and after saving the changes, the trigger can be tested to see if the connection is working (00:18:45).
- Once the trigger is tested and the connection is confirmed, filters can be added to customize the automated post, such as filtering by category or other criteria (00:20:01).
- To automatically share new Website content writer on Social media, a workflow can be set up to filter posts based on their type, with each post type having a unique data ID associated with it, such as blog posts having a data ID of 14 (00:20:06).
- The workflow can be configured to only continue if the post has a title and content, ensuring that only valid posts are sent to social media channels, with the goal of preventing “garbage” from being sent to these channels (00:21:10).
- Additional filters can be added to the workflow, such as checking if a post title and content exist, to further refine the types of posts that are shared on social media (00:21:21).
- A delay can be added to the workflow to prevent posts from being sent to social media channels immediately, with options to delay until a specific date or time, such as the post’s publish date (00:22:12).
- Zapier provides features to make it easy to work with post data, including the ability to search and select specific data fields, such as the post start date, to use in the workflow (00:22:35).
- To avoid double posting when saving a blog post multiple times, the workflow can be configured to only continue if the post’s publish date is within a certain time frame, such as up to 15 minutes in the past (00:23:21).
- The workflow can be tested and continued to ensure that it is working as intended, with the option to make adjustments as needed to the filters and delay settings (00:23:59).
- To automatically share new Website content writer on Social media, a process can be set up using Zapier, which can connect to over 5,100 different applications, including Facebook and Twitter, to create a page post or tweet when a new blog article is published (00:24:22).
- The first step is to connect a Facebook account and choose the page where the post will be published, then create a page post with a message that can include the title of the blog article and other details, as well as hashtags to help with searches (00:24:36).
- The message can be customized with text, emojis, and a link to the blog article, and can also include a default social media image if one is not provided in the blog post (00:25:08).
- Once the Facebook post is set up, the process can be tested to ensure it is working correctly, and the post can be viewed on the Facebook page to verify that it has been published (00:26:12).
- The same process can be repeated to add Twitter as an action, by connecting a Twitter account and creating a tweet with a similar message and hashtags (00:27:02).
- The tweet can also be customized with text, hashtags, and images, and can be tested to ensure it is working correctly before the Zap is published and turned on (00:27:25).
- Once the Zap is running, it will automatically post new blog articles to Facebook and Twitter, based on the filters and settings that have been established, allowing the website owner to easily share new content on Social media (00:28:31).