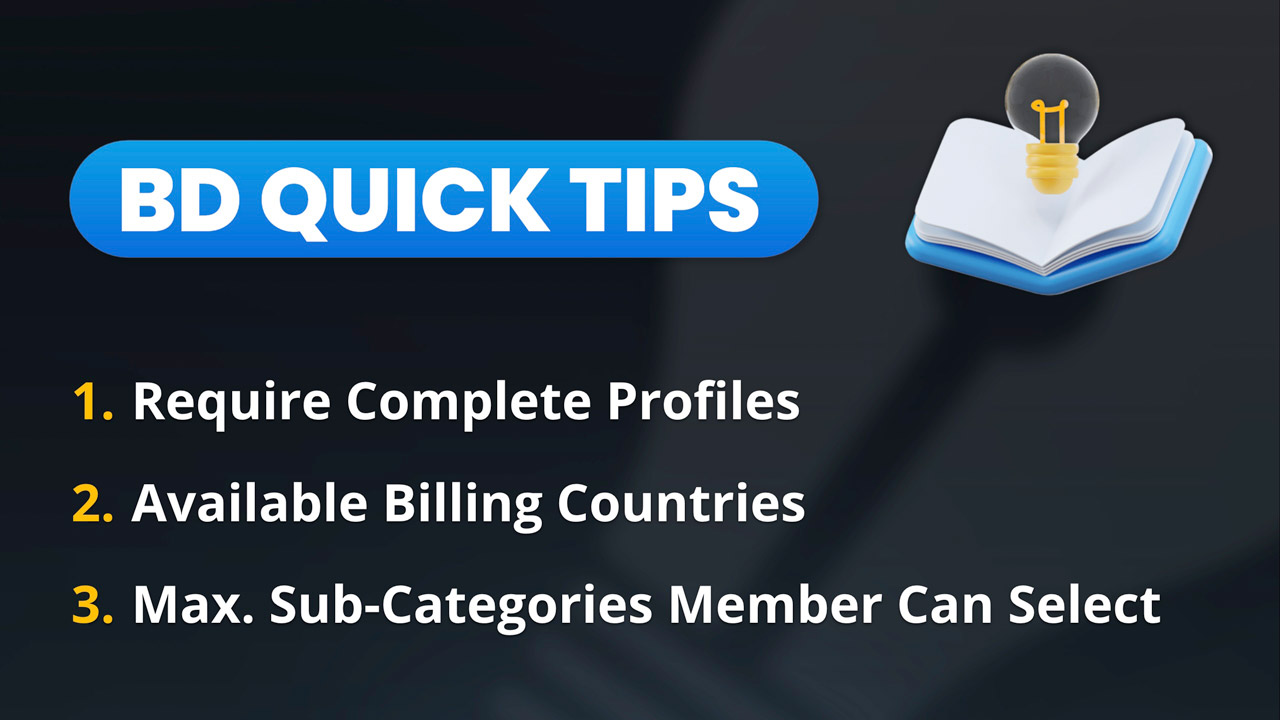
This Tip of the Week covers topics including:
- 00:00 – Introduction
- 00:42 – 1) Require Complete Profiles – More Info
- 08:58 – 2) Available Billing Countries
- 13:48 – 3) Max. Sub-Categories Member Can Select – Industry Categories
This is a segment from Webinar Wednesday 196, recorded live on March 5, 2025.

 AI-Generated Transcript – Please excuse any inaccuracies
1) Require Complete Profiles (00:00:42)
- Requiring complete member profiles is a useful feature that ensures only complete profiles are displayed on the front end of a website in the member search results, which helps to improve the general search quality and the website’s credibility by enhancing the user experience (00:00:43).
- When a new member registers on a website and is auto-approved, they might not complete their profile initially, so this feature helps to prevent displaying incomplete listings in search results (00:01:11).
- The feature has two components: an on/off toggle in the website’s general settings and an advanced setting called “complete profile field” that allows customization of the required fields (00:01:58).
- The default required fields for a member’s listing to display in search results are their name, category, profile photo or logo, and address, but these can be customized through the advanced setting (00:02:09).
- Requiring complete profiles can be particularly useful for directories of professionals or businesses, as it encourages users to complete their profiles and shows that they care about their listing (00:03:03).
- Enabling the “require complete profiles” setting can significantly reduce the number of search results, as incomplete profiles are not displayed, which can be seen by comparing the number of search results before and after enabling the setting (00:03:55).
- The complete profile fields can be managed by clicking on the “view settings” link, which allows administrators to decide and dictate which fields are required, with the company name, first name, and profession ID being some of the default required fields (00:04:32).
- The required fields are listed in a comma-separated list, and administrators can customize this list by adding or removing fields, such as the profile photo or file, and saving the changes (00:05:08).
- Administrators can also add other fields to the required list by going to the form manager, looking at the listing contact details, and finding the system names or database variable names for the desired fields, such as the listing type or last name (00:06:10).
- The system names can be found by looking at the listing forms, and administrators can add these names to the required fields list to make them mandatory for members to fill out, with the goal of making the search results look more polished (00:06:49).
- It is essential to educate members on the importance of completing the required fields, and this can be done through a welcome email or a video that explains the onboarding process and the next steps for new signups, with a previously created video available that discusses onboarding new members with a welcome plan (00:07:32).
- The welcome email or video can inform members about the required fields and how to get the most out of the site, and administrators can share additional resources, such as a video on onboarding new members, to help members understand the setup process (00:08:14).
- The email serves as an initial greeting to new members, aiming to educate them on how to maximize their experience on the website, outlining the next steps and desired actions, such as posting their first classified if it’s a classified website (00:08:23).
- Providing new members with context and direction on utilizing the site is crucial, and giving them easy-to-follow instructions on what to do next with their profiles is a valuable tip (00:08:27).
- Offering clear instructions and guidance right from the start can help new members get the most out of the website, and a video link was shared that covers this topic well, providing great tips on how to achieve this (00:08:29).
2) Available Billing Countries (00:08:58)
- Available billing countries can be chosen to appear in the drop-down list as billing options when a prospective member is on a checkout page, allowing for the restriction of payments to specific countries and the prioritization of frequently used countries at checkout (00:08:58).
- The billing countries feature can be used to tailor checkout pages to specific target markets, and it is particularly useful for websites that target a specific country or region, such as Europe, where there are many countries that may be target markets (00:09:41).
- It is possible to feature certain countries at the top of the drop-down list, making them more easily accessible to users, which can be useful if there are a lot of users from a particular country (00:09:26).
- To access the billing countries feature, users can go to their finance settings, payment gateways, and then click on the additional settings dropdown, where they can find the billing address countries option and set individual countries to active, not active, or featured (00:10:45).
- The default countries that appear at the top of the drop-down list are the United States, Canada, Australia, New Zealand, and the United Kingdom, but users can customize this list to prioritize their primary country or target market (00:11:30).
- Users can add or remove countries from the list, and they can also prioritize their primary country by featuring it at the top of the list, which can be useful for businesses that operate in a specific country or region (00:11:54).
- The billing countries feature is a useful tool for businesses that want to focus on a specific target market or region, and it can help to simplify the checkout process for users by only showing them relevant billing options (00:10:43).
3) Max. Sub-Categories Member Can Select (00:13:48)
- Members can be limited to a specific number of subcategories they can be listed in, which can be used as a monetization option by creating tiered membership plans with different category limits (00:13:50).
- This feature can encourage members to focus on their specific niches and specialties, rather than trying to be listed in every subcategory, and can help prevent category overuse for more relevant listings (00:14:12).
- The maximum subcategories members can select is a membership plan setting that can be edited in the finance and membership plans section, with options to enter a specific number, zero, “all”, or “unlimited” (00:15:43).
- Entering a specific number will limit members to that many subcategories, while entering “all” will auto-list members in all available sublevel categories, and entering “unlimited” will leave the choice up to the members (00:15:51).
- This feature is useful for creating tiered levels and giving members more visibility on the site, with being listed in more categories giving the member or business more visibility (00:16:32).
- A subcategory is a subset of a top-level category, and there are resources available to help with category creation, such as a top 100 category import list for various industries (00:16:42).
- The top 100 category import list can be found in the resources tab on the Brilliant Directory site, and can be used to help with setting up categories for a site, such as an automotive site (00:16:54).
- When a business joins a site and selects a top-level category, such as automotive services, they can then choose sub and sub-sub categories, allowing them to specify the type of services they offer, such as auto repair, auto detailing, or auto parts (00:17:23).
- To prevent members from selecting every category for self-serving purposes, it’s recommended to limit the number of sub-categories they can choose, with higher-tiered plans offering more options, such as selecting up to 20 sub-level categories for a higher monthly fee (00:17:42).
- A “category takeover” option can be offered for a higher fee, allowing members to be listed in all sub-categories without having to select them individually, providing full exposure in all sub and sub-sub categories (00:18:23).
- In the admin area, membership plan settings can be edited to specify the maximum number of sub-categories members can select, with options to set a specific number or choose “all” to automatically assign them to every sub-category (00:19:04).
- The “max suble categories members can select” setting determines how many sub-categories members can choose, with options to set a specific number, such as five, or “all” to automatically assign them to every sub-category (00:19:30).
- The “all” option allows members to be automatically found and searchable in all available sub-categories as soon as they select their top-level category, with no need for additional action, making it a convenient option for members and a potential revenue stream (00:20:07).
- The “unlimited” option sets no cap on the number of sub-categories members can choose, allowing them to select from zero to 100 sub-categories, providing an unrestricted limit (00:20:56).
- The available amount of subcategories can be set to unlimited, allowing users to choose as many as they want without any restrictions, or it can be limited to a specific number, with options including “all” which assigns users to all subcategories under a top-level category, or a specific number, with the option to select zero, (00:21:12).
- This feature is a great monetization tool, especially for business directories that are industry-focused, such as an attorney directory where subcategories can represent specializations of the attorney, and firms may want to list in multiple categories for increased visibility, (00:21:14).
- When signing up as a member, users can select their top-level category and subcategory in a two-step process, with the first step including fields for name, company, phone number, and a “best describes you” field that selects the top-level category, and the second step allowing users to choose their subcategory, (00:22:31).
- There is also an option to put the top-level and subcategory selection on one form, which can create a seamless workflow, and an article is available that provides instructions on how to do this, which can be a useful project for those who are tech-savvy, (00:22:53).
- The ability to customize the category selection process can improve the user flow and make it easier for users to select their top category and subcategory in one place, (00:23:21).