This Tip of the Week covers topics including:
- 0:00 – BD API: Auto-Create Members From Google Forms
- 0:57 – Brilliant Directories API v1 – Support Documents
- 2:32 – API vs. Webhooks
- 4:38 – API Use Cases
- 7:17 – Let’s See How the API Works
This is a segment from Webinar Wednesday 140, recorded live on August 10, 2022.
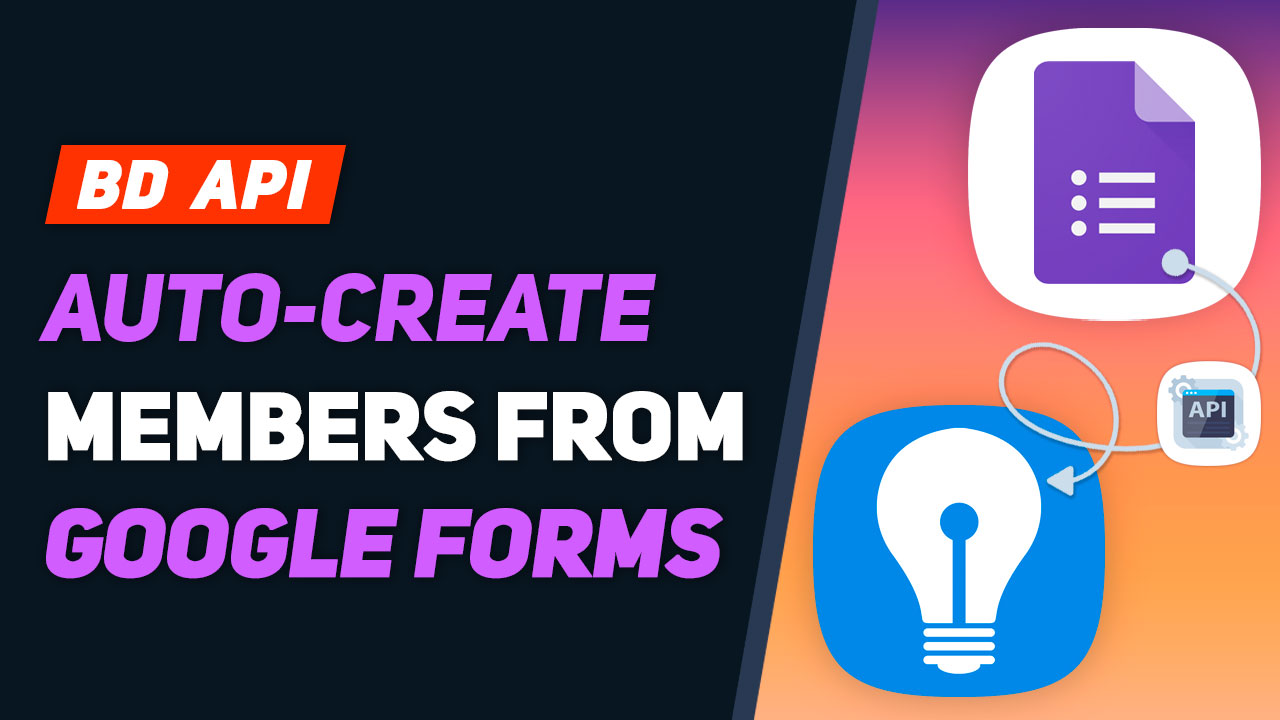
Connect Google Forms to Brilliant Directories using Zapier
Brilliant Directories users now have a seamless and efficient way of adding new members to their membership and directory websites. This is made possible by integrating Brilliant Directories with Google Forms using Zapier, an automation platform that enables users to connect their favorite apps and automate workflows. In this article, we’ll show you how to connect Google Forms to Brilliant Directories in Zapier to create a new user and explore the use cases for this integration.
Steps to Connect Google Forms to Brilliant Directories in Zapier
- Sign up for Zapier if you don’t already have an account, and log in to your Zapier account
- Click the “Make a Zap” button on the Zapier dashboard
- Select Google Forms as the trigger app and select the appropriate trigger event (e.g. “New Response”)
- Connect your Google Forms account to Zapier
- Select Brilliant Directories as the action app and select the “Create Member” action
- Connect your Brilliant Directories account to Zapier
- Map the data from your Google Form to the Brilliant Directories member fields
- Test your Zap to ensure everything is working as expected
- Turn on your Zap and start using it
Use Cases for Integrating Google Forms and Brilliant Directories with Zapier
- Easily add new members to your Brilliant Directories site without having to manually enter the data
- Streamline the membership sign-up process for your users by using a Google Form to gather information and automatically adding them to Brilliant Directories
- Grow your membership community even faster, with the ability to embed Google Forms on any website.
- Track membership sign-ups and gather insights on member demographics with Google Forms
With the integration of Google Forms and Brilliant Directories using Zapier, you can now automate repetitive tasks and focus on growing your membership and directory websites. Give it a try and see how it can help your online community grow even faster.

 AI-Generated Transcript – Please excuse any inaccuracies
Brilliant Directories API v1 (00:00:57)
- The current functionality of the Brilliant Directories API v1 allows for the creation of new member records from external sources, as of August 2022, with future updates planned to enable reading, updating, and deleting of member data (00:01:01).
- The API will eventually support editing and deleting member records, as well as managing member leads, reviews, and various types of posts on the website (00:01:27).
- One of the most requested use cases for the API is importing property listings, which opens up a wide range of possibilities for managing website data (00:01:40).
- The term API can be intimidating, but intermediary tools like Zapier make it possible to utilize the API without requiring any coding knowledge, allowing for a point-and-click experience (00:02:06).
- With the help of Zapier, the benefits of creating member records can be achieved without any coding required, making it accessible to everyone once the initial hurdle of learning to use Zapier is overcome (00:02:19).
API vs. Webhooks (00:02:32)
- The Brilliant Directories API is used to create member records on a Brilliant Directories website from external sources, and it can be used with or without web hooks, allowing for increased functionality and automation of workflows (00:03:00).
- The API key can be used to create member records without the need for web hooks, and it can also be used with platforms like Zapier, providing more functionality for developers, but no coding background is required to use it (00:03:11).
- Web hooks are still necessary when exporting data from a Brilliant Directories website to external platforms, such as when sending data to another platform or service, and this is a key difference between the API and web hooks (00:04:05).
- The API and web hooks serve different purposes, with the API used for creating member records from external sources and web hooks used for exporting data to external platforms, and understanding the difference between the two is important for automating workflows (00:02:48).
- The use of the API and web hooks will be further illustrated through an example, which will help clarify the differences and uses of each, and provide a clearer understanding of how they work in practice (00:04:31).
API Use Cases (00:04:38)
- The API can be utilized to create new member records from external sources, such as when somebody submits a form on an external website, with current use case examples including creating member records from form submissions on external websites and third-party forms and survey platforms like SurveyMonkey (00:04:38).
- The API allows for the creation of forms through other services and platforms that are dedicated to form creation, which can be used to direct website visitors or individuals and businesses to fill out forms that will automatically create a member account for them on the Brilliant Directories website (00:04:42).
- Future API features will include the ability to import property listings from MLS data, import and manage leads acquired from external sources, import member reviews from external sources, and keep member data up to date based on member information from external sources (00:04:54).
- The API can also be used to send website data to external sources for further processing and storage, with possibilities being endless, especially when working with a developer or utilizing the Brilliant Directories API key with any platform (00:05:17).
- The API will enable users to expand the functionality of their website and manage their data in various ways, including creating member records, importing property listings, managing leads, and keeping member data up to date, making it an exciting and powerful tool for managing and acquiring data (00:05:49).
Let’s See How the API Works (00:07:17)
- The process of automatically creating a member account from a Google Form submission is demonstrated, which involves creating a simple form with required fields such as email, password, and subscription ID, and using Zapier to create a temporary password for the user (00:07:22).
- Google Forms is used as the form creator in this example, but other form creators like Typeform (service), Jotform, Ninja Forms, or WordPress Forms can also be used, and the form created is called “Become a Member” with fields for first name, last name, and phone number (00:07:55).
- The Google Form settings include making the email field required, not requiring respondents to sign in with a Google account, and sending a copy of the response to the respondent, as well as adding a custom message in the presentation section (00:09:31).
- The form can be shared via a link or embedded on other websites, allowing people to sign up to the site using the form, and the workflow includes sending a welcome email to the person after they fill out the form (00:10:58).
- Zapier is used to create a temporary password for the user and set the subscription ID, which is the membership plan that the member will be registered to, and in this example, the subscription ID is set to 3, which corresponds to the “Membership Plan 3” (00:08:49).
- The Google Form settings also include disabling autosave for all respondents and collecting the email address by default, which allows the form to ask for the email address without requiring the respondent to sign in to a Google account (00:10:19).
- The workflow involves using Zapier to automate the process of creating a member account and sending a welcome email, and the form can be customized to fit the needs of the website and the membership plan (00:09:23).
- A Google Form was created to collect user information, and the embed link was used to embed the form on a landing page on a website, allowing users to sign up without having to log into their Google account (00:11:17).
- The form was tested by signing up as a new member, and the user information was submitted to create a new member record, with a random six-digit password generated using Zapier’s number formatter tool (00:11:56).
- The new member record was created successfully, and the user information, including first name, last name, email address, and phone number, was mapped to the corresponding fields in the Brilliant Directories website (00:13:04).
- Zapier was used to connect the Google Form to the Brilliant Directories website, allowing the user information to be shared and a new user to be created, with an API key generated to facilitate the connection (00:13:47).
- The setup action in Zapier was configured to map the user information from the Google Form to the corresponding fields in the Brilliant Directories website, including custom fields and conditional fields, with the active field set to represent the account status after someone fills out the form (00:14:39).
- The Google Form can be replaced with other form solutions, such as Google Sheets, Typeform (service), or Jotform, to collect user information and create new member records on the Brilliant Directories website (00:13:13).
- When someone fills out a Google form, their account will automatically be set to active, which is suitable for a general user type of account or a visitor who needs an account to perform certain actions, with the account status being set to active by default (00:15:30).
- The subscription ID can be defined, and if the member is choosing their own subscription ID or plan, it can be dynamic, but in this case, it has been hard-coded to three, meaning anyone created using this workflow will be assigned membership plan number three (00:16:03).
- The password for the new user will be set to a random six-digit number generated by Zapier’s “Numbers in Formatter” tool, which picks a random number between 100,000 and 999,999, and this temporary password will be assigned to the user (00:16:57).
- The workflow involves sending an email to the new user using Zapier’s “Send Out Email” tool, which can be set up to come from various email platforms, and the email will include the user’s username, temporary password, and a link to reset their password (00:18:11).
- The email sent to the new user will include a welcome message, login link, username, and temporary password, as well as a link to reset their password and a reply-to email address for additional assistance (00:18:31).
- The workflow ends with the creation of the new user in Brilliant Directories, and the user will receive an email with the necessary information to log in and start using their account (00:19:02).
- To create a new member from Google Form submissions, a zap can be created, and Google Forms can be used as an example, with various form solutions like Gravity Forms, WordPress Forms, and Zoho Forms also available (00:19:26).
- A new form response, or form submission, triggers the creation of a new member, and the Google account needs to be synced, selecting the most recent form created (00:19:54).
- The formatter step can be used to create a temporary password, with options like numbers and spreadsheet-style formulas available to create a random password between 100,000 and 999,000 (00:20:20).
- The Brilliant Directories API can be connected by searching for “Brilliant” and selecting the “Create User” event, which will ask for an account connection, requiring the website URL and API key (00:21:05).
- The API key can be generated from the Developer Hub in the dashboard area, and it will only be displayed once, so it should be copied and saved, and then pasted into the API key field to establish a connection (00:21:53).
- Once connected, the setup action allows for mapping data between the Google Form and the member record in the Brilliant Directories website, including fields like first name, active status, and subscription ID (00:22:56).
- The membership plan for new members who fill out a Google form is set to the free sign up plan, which is plan number 3, and the password field is set to a randomly generated number from Zapier’s numbers formatter (00:23:36).
- The Zapier workflow can be customized to send an email to the new member who signed up, and there are various email tools available, including Gmail, Mailchimp, and Email by Zapier, which is the most basic one (00:24:12).
- The email sent to the new member can be customized, and in this example, it says “welcome to our community” and provides a temporary password for the member to log in (00:24:49).
- The Zapier workflow also allows users to see the history of the zaps and what’s being processed, and it will prevent duplicate email signups if the advanced setting to allow duplicate emails is not enabled (00:25:28).
- If a submission is stopped, the Zapier workflow will show where it gets stopped, and users can delete the existing record and try the process again (00:26:27).
- The whole process of creating a new member from a Google form submission and sending an email to the member can be done with just a few clicks without any coding, using Zapier’s pointing and clicking interface (00:27:46).
- Users can also use other survey and form platforms, such as Typeform (service) or Jotform, to check the database and prevent duplicate email submissions (00:25:58).
- The ability to send an email again and customize the email template is also available, and users can get help with setting up the Zapier workflow in the Facebook group (00:27:54).