This Tip of the Week covers topics including:
- 1:53 – Why Would You Want a Private Website?
- 4:04 – Private or Semi-Private Communities
- 9:00 – Members-Only Content Add-On
- 11:42 – Let’s See How to Set up a Private Site
- 13:46 – Express Member Sign-Up Setup
- 16:00 – Set Different Public Visitor and Logged-In Member Main Menus
- 17:06 – Homepage Setup
- 20:19 – Make Post Types Private / Members-Only
- 24:18 – Make Static Web Pages Private / Members-Only
- 27:48 – How to Add Custom Content to Members’ Upgrade Page
- 29:49 – Creating Alternate Main Menus for Public Visitors and Logged-In Members
- 32:11 – Customizing the Required Member Upgrade Notification Messages
This is a segment from Webinar Wednesday 116, recorded live on June 30, 2021.

 AI-Generated Transcript – Please excuse any inaccuracies
Introduction (00:00:00)
- Creating a members-only access website is a common question, and it is worthwhile to explain the benefits of doing so, including what areas of the website can be locked down, with examples to be provided later (00:00:00).
- A members-only access website can be useful for managing certain private aspects, but it is unlikely that the entire website would be made private, especially if it is a new site, unless it is for a private internet or community (00:00:02).
- The idea of creating a members-only access website has been discussed in a Facebook group, with many users wanting to make their entire website private or create a portal that requires registration to view private content (00:00:04).
- Even if the entire website is not made members-only, some parts and pieces of this concept can be applied to an existing site, allowing for flexibility in managing private elements (00:00:11).
- The presentation will cover the benefits of creating a members-only access website, including what can be locked down and how to do it, with the goal of providing useful information for those who want to make certain elements of their website private (00:00:17).
- The concept of a members-only access website can unlock possibilities for future updates to an existing website, and can be used to manage certain private aspects, such as a private community or internet (00:00:32).
- The presentation will provide a demo of how to lock down different aspects of a website, and will discuss the flexibility of making certain elements of a website private, rather than the entire site (00:00:41).
- The goal of the presentation is to explain the benefits of creating a members-only access website, and to provide examples and a demo of how to do it, in order to help users make informed decisions about their website (00:01:04).
Why Would You Want a Private Website? (00:01:53)
- A private website can be built as an entirely members-only platform, or as an intranet, where public access to the website’s content is blocked, requiring users to log in with a registered account to access the content (00:01:56).
- Alternatively, instead of locking down the entire website, access can be limited to specific pages and types of content, offering flexibility and the ability to allow certain types of members to access specific content on a per membership level basis (00:02:24).
- Membership levels can be used to control access to different areas and content on the website, with free members having limited access and premium tier membership plans having more access to content (00:02:38).
- Certain content can be placed behind a virtual paywall to encourage member account upgrades, such as providing additional content to premium members that free users do not have access to (00:02:52).
- A common example of this concept is LinkedIn, where users can create a free profile and account, but have limited access to job search tools and recruitment features, with more access and deeper searches available to LinkedIn Pro account holders (00:03:22).
- Even with a free LinkedIn account, users must register to access any content, and additional paywalls are in place to access more premium content, demonstrating a similar concept of limited access and upgrades (00:03:47).
Private or Semi-Private Communities (00:04:04)
- Private or semi-private communities can be found on various platforms, including LinkedIn, where a registered account is required to access most of the useful information, and users can view limited information from a profile without being signed in, but need to log in to conduct a search and view specific details on members’ profiles (00:04:05).
- Facebook groups can be either private, where someone has to request to join, or open, and users need to have a Facebook account to participate, with private groups being an example of having a private community (00:04:38).
- Instagram’s website allows users to view individual posts and some photos on a profile without being signed in, but requires a login to view older posts, similar to LinkedIn (00:04:51).
- Pinterest shows some content initially, but requires registration or sign-in to access additional content, and subreddits can be either totally open or completely locked down, requiring a Reddit account to access (00:05:20).
- Discord servers require a Discord account to request to join the different communities, and these are examples of private or semi-private communities where users may not need to be charged to access, but can still be provided with free registration options (00:05:58).
- Setting up a private or semi-private community can be done in various ways, including requiring users to log in to access company information, such as in the case of a small real estate firm or agency, or a business referral network, where users can communicate with each other and access exclusive content (00:06:54).
- A local chamber of commerce can also have a semi-private community, where the public can search the business directory, but internal communication, blog posts, and monthly updates are private for registered members only, making it a hybrid community (00:08:18).
Members-Only Content Add-On (00:09:00)
- The members-only content add-on allows for various options to protect content, including registered users within specific plans, and can be used to restrict access to certain web pages, such as the FAQ page or contact page, with flexibility in membership levels (00:09:01).
- This add-on enables protection of individual post types, like blog articles and videos, as well as search result pages and detail pages, giving the option to present unregistered users with search results while requiring registration or login to access specific details (00:09:59).
- The add-on also allows for protection of pages like member review pages, and when unregistered users try to access a protected page, they will see a message prompting them to log in or become a member (00:10:49).
- The members-only content add-on has undergone numerous updates and improvements over the years, making it more flexible and feature-rich, with the ability to lock down certain aspects of a website and navigate various features (00:11:10).
Let’s See How to Set up a Private Site (00:11:42)
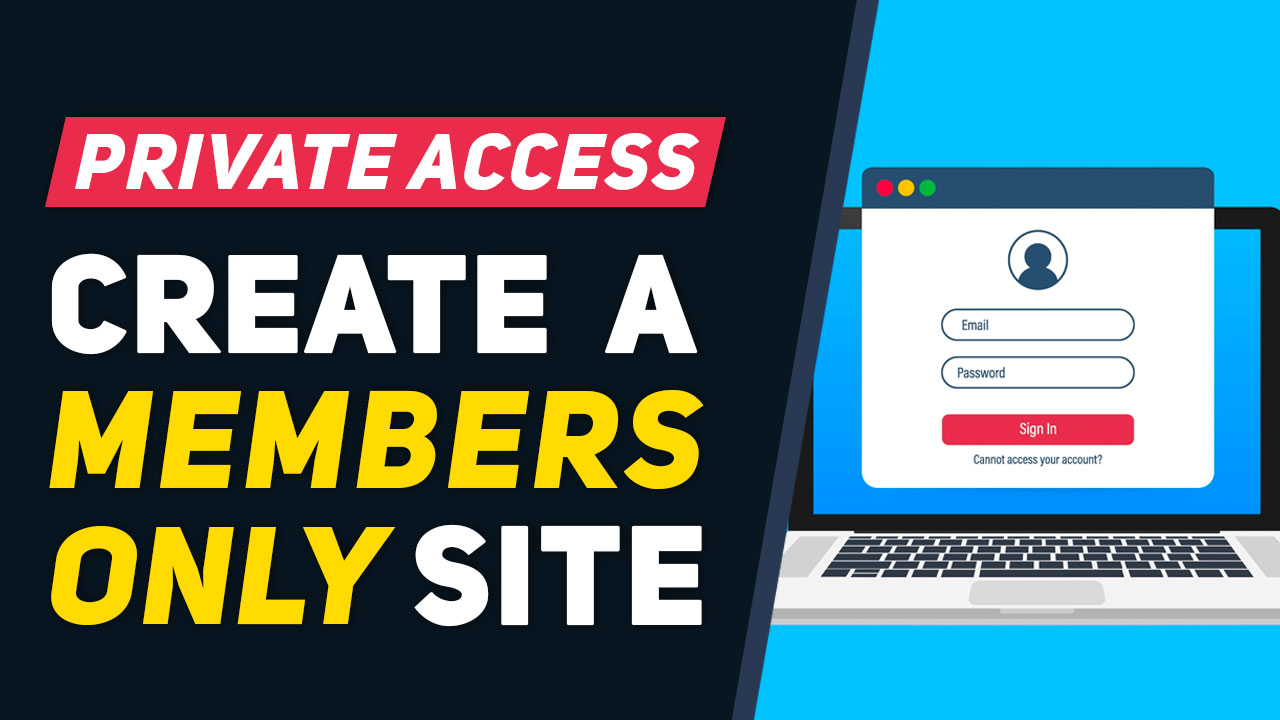
- To set up a private website, the whole website can be locked down except for a few informational pages that people can access prior to being required to register, with the goal of encouraging them to sign up for more access (00:11:46).
- A demo site has been set up to illustrate this concept, featuring a public main menu that leads people to generic information about the community, such as the mission and promise, membership benefits, and other inspirational content (00:12:17).
- The public main menu is separate from the main menu for logged-in members, allowing for different content and access levels, and the demo site’s public main menu is designed to prompt visitors to log in or register for a new account (00:12:21).
- The homepage of the demo site is simple, with a prompt to log in or register for a new account, and features a title and main menu links to keep the design straightforward and encourage sign-ups (00:12:58).
- The express member registration feature is enabled alongside the login page, allowing visitors to quickly register for a new account if they are prompted to log in or are exploring the site (00:13:30).
- The registration process can be streamlined using the express member registration feature, which is a convenient option for visitors who want to access more content on the site (00:13:33).
Express Member Sign-Up Setup (00:13:46)
- To set up an express member sign-up, it’s essential to have the register new account option as a tab for the login, and this can be found in the main menu, which can be accessed after logging in (00:13:46).
- The express member registration can be configured in the general settings, where it’s necessary to have SSL enabled because it logs users in from random pages of the site, and the express sign-up membership plan can be chosen from the available options (00:14:08).
- In the general settings tab, the first step is to choose one of the free membership plans, which will be the plan that people are subscribing to when filling out the registration form on the live site, such as the beginner subscription plan (00:14:25).
- The selected plan will be the one that people register for when using the registration form next to the login page, and most websites have a plan called “general user account” or something similar, which can be selected as the default plan (00:14:40).
- The express sign-up option can be disabled by selecting “no express signups,” which will remove the registration tab from the login page, making the site invite-only, and this can be useful for sites that want to lock down access and only allow authorized users to log in (00:15:07).
- When the express sign-up is disabled, the site can be configured to only show a login form, and the main menu can be hidden, making it a hardcore portal that requires users to log in before accessing any content, as long as the other pages are private (00:15:32).
- The site’s design settings can be updated to change the appearance of the login page, and the express sign-up option can be re-enabled by selecting a membership plan, such as the beginner subscription, which will restore the registration tab on the login page (00:15:48).
Set Different Public Visitor and Logged-In Member Main Menus (00:16:00)
- The main menu is a crucial aspect of a members-only website, and its design settings can be accessed to choose where the login form is displayed (00:16:02).
- A public visitor main menu can be created to showcase the benefits of the community and link to pages that generate excitement, while a logged-in member main menu can be designed to provide access to exclusive content and features (00:16:19).
- The logged-in member main menu can be created by cloning the regular main menu and adding key links to members-only pages, such as the account dashboard, which can be managed through the menu manager (00:16:41).
- Having two different menus, one for public visitors and one for logged-in members, can be beneficial, but it ultimately depends on the website’s model, and some people may choose to have only one main menu (00:16:58).
- The main menu design settings allow for customization, including the option to display a login form, and the choice of menu design can impact the user experience for both public visitors and logged-in members (00:16:03).
Homepage Setup (00:17:06)
- The homepage area can be customized with a title text and a background image, and it can include a login form, action buttons, or a search module, with the option to require member login (00:17:06).
- The require member login option can be set to no, allowing visitors to access the homepage without logging in, and a call to action can be added using the global website search or keyword search (00:17:37).
- When the require member login option is enabled, visitors will be prompted to log in before accessing the homepage, and after logging in, they will be able to see the search box and other member-only content (00:18:15).
- The main menu links will change after logging in, providing access to the member dashboard, community articles, training videos, group photos, and other member-only pages (00:18:52).
- Members can access various pages, including training videos, group photos, and job listings, and these pages can be opened in their own tabs for easy access (00:19:30).
- When a member logs out, they will no longer be able to access member-only content, and will see a message indicating that the content is for members only (00:19:55).
- The website can be set up to restrict access to certain pages and content, making it exclusive to members who have logged in (00:20:10).
Make Post Types Private / Members-Only (00:20:19)
- To protect different post types, such as job listings, and make them members-only, the process involves two steps: making the post type members-only and choosing which membership plans have the privilege to view this post type, with indicators available to quickly see which post types are members-only (00:20:21).
- Post types can include events, coupons, and videos, and can be cloned to create alternates like premium events and premium coupons, which can then be assigned to specific membership levels (00:20:50).
- The first step in making a post type members-only is to go to the general settings tab for the post type, where the option to protect the post type is available, with choices to protect the search results, the detail page, or both (00:21:45).
- The second step is to choose which membership plans can view the protected post type, which is done by going to the membership plans area and selecting the plans that have the privilege to view the post type, such as the gold subscription (00:22:50).
- When a post type is set to private, the membership plan must be set to “can view” under the post publishing tab, and if a member’s plan does not have access to the post type, they will be prompted to upgrade their account (00:23:03).
- The process of locking down post types and choosing which membership plans can view them allows for control over what content is available to different membership levels, with options to link members to an upgrade page to explain the benefits of upgrading their plan (00:24:01).
Make Static Web Pages Private / Members-Only (00:24:18)
- Creating a standalone landing page or web page with important information that is only for specific membership plans or members can be done by creating a web page and protecting it, which can be achieved with the members-only content add-on, allowing protection of individual standalone web pages, including those with PDF downloads, ebooks, or infographics, (00:24:37).
- The members-only content add-on provides an option to protect individual web pages by default, and pages are public for everyone, but can be restricted to only allow members, or further restricted to specific membership plans, such as only allowing gold subscription members, (00:24:55).
- When a member tries to access a protected page without access, they will be prompted to upgrade to a membership plan that has access, and will see a message directing them to their account dashboard or upgrade page, which can be customized in the membership plan settings, (00:26:01).
- To test the protection of a private page, logging in as a gold member and then as a beginner member can demonstrate the difference in access, with the gold member able to access the page and the beginner member seeing a message prompting them to upgrade their membership, (00:26:25).
- The upgrade page is boilerplate by default, but can be customized by adding content in the membership plan settings, allowing for a more personalized experience for members looking to upgrade, (00:27:39).
How to Add Custom Content to Members’ Upgrade Page (00:27:48)
- To add custom content to a member’s upgrade page, navigate to the membership plans section and edit the desired subscription plan, such as the “best base” or “beginner” plan, where an upgrade settings section can be found (00:28:04).
- In the upgrade settings section, there is an option to add custom content to the upgrade page header, which will be displayed at the top of the upgrade pages for members, allowing for the addition of encouraging language to prompt upgrades (00:28:16).
- The upgrade page header content can include pre-made blocks, images, titles, and bullet points highlighting the benefits of upgrading, such as additional features or perks, and can be customized to fit the specific needs of the membership site (00:28:23).
- After adding custom content to the upgrade page header, the changes can be saved and the updated upgrade page can be viewed, displaying the newly added content, such as a header that says “upgrade your membership level” (00:28:42).
- Adding custom content to the upgrade page header is a strategy to encourage members to upgrade their membership plan, and can include information on what they will gain by upgrading, such as access to exclusive content or features (00:29:12).
- Additional resources, such as a video on “five member upgrade strategies to increase subscription revenue”, can be shared with members to provide more information on the benefits of upgrading and to help increase subscription revenue (00:29:28).
Creating Alternate Main Menus for Public Visitors and Logged-In Members (00:29:49)
- Creating alternate main menus for public visitors and logged-in members involves designing two separate menus, with the public menu displaying items such as “about our company” and “benefit member benefits”, and the logged-in member menu displaying different items, such as a link to the member’s dashboard and protected post types, which can be achieved by going to the design settings and choosing the two menus, with the public visitor main menu and the logged-in member menu, (00:29:50).
- To create a custom menu that can be used as a main menu, it is necessary to include the words “main menu” in the menu’s nickname, as sites often have multiple menus and not all of them are applicable as the main menu, and this can be done by going to the toolbox and accessing the menu manager, (00:30:23).
- The process of creating an alternate main menu for logged-in members involves cloning the original main menu, updating the nickname to “logged in main menu”, and editing the links to include items such as a dashboard link and protected post types, such as community articles, training videos, and photo albums, (00:31:04).
- The logged-in main menu can also include links to protected static pages and landing pages, making it easier for members to navigate the site after logging in, and this can be achieved by protecting the static pages and linking to them from the logged-in main menu, (00:31:46).
- The goal of creating an alternate main menu for logged-in members is to provide them with easy access to the site’s protected content and features, such as the account dashboard and protected post types, and to make it easier for them to navigate the site, (00:31:57).
Customizing the Required Member Upgrade Notification Messages (00:32:11)
- To edit the messages that appear when a user without access tries to view restricted content, it is possible to modify the text labels, which can be done without needing to access the code, and this process can be started by clicking on the orange “visit website” button in the admin area (00:32:11).
- After clicking the orange button, an admin bar appears, allowing the user to click on “show text labels” and view the text labels on the website, which are highlighted in yellow, making it easier to identify and edit them (00:32:45).
- The text labels can be edited by searching for the specific text in the text labels area or by clicking on the yellow modules, which takes the user directly to the settings text label area, allowing for easy modification of the text (00:33:31).
- The process of editing text labels involves finding the specific text to be modified, making the changes, and saving them, which can be done through the admin area or by using the “show text labels” button on the front end of the site (00:33:51).
- The “show text labels” button is a useful tool for identifying and editing text labels, as it highlights them in yellow, making it easier to find and modify the desired text, and it can be turned on and off as needed (00:35:13).
- The text labels can be modified to display custom messages, such as “hello there” or “you need to upgrade”, and these changes can be made quickly and easily through the admin area or the front end of the site (00:34:29).
- The variable name and actual text of the text label are displayed, making it easier to identify and edit the correct text, and the changes can be saved and viewed on the site (00:34:38).
- The process of customizing the member upgrade notification messages involves editing the text labels, which can be done using the methods described, and the changes can be viewed on the site by refreshing the page (00:34:44).

